WSL 1, Docker Desktop & Microsoft Terminal Installation
07 Apr 2020Cheatsheet for setting up WSL, Docker Desktop and a terminal.
Introduction
For the linux distribution I have currently chosen Ubuntu. For the terminal I’m trailing the new Microsoft Terminal with tmux.
For an indepth steps please see the original resource I followed the steps from.
Original resource cite:
- Using WSL and MobaXterm to Create a Linux Dev Environment on Windows
- Setting Up Docker for Windows and WSL to Work Flawlessly
- WSL file permission issues
Prerequisites
Ensure that your windows 10 is updated to 1903 or higher.
Installing WSL
Enable Windows
Turn the following windows feature on - Windows Subsystem for Linux.
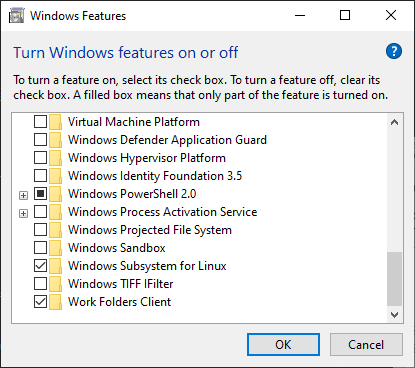
You will need to reboot once that feature is installed.
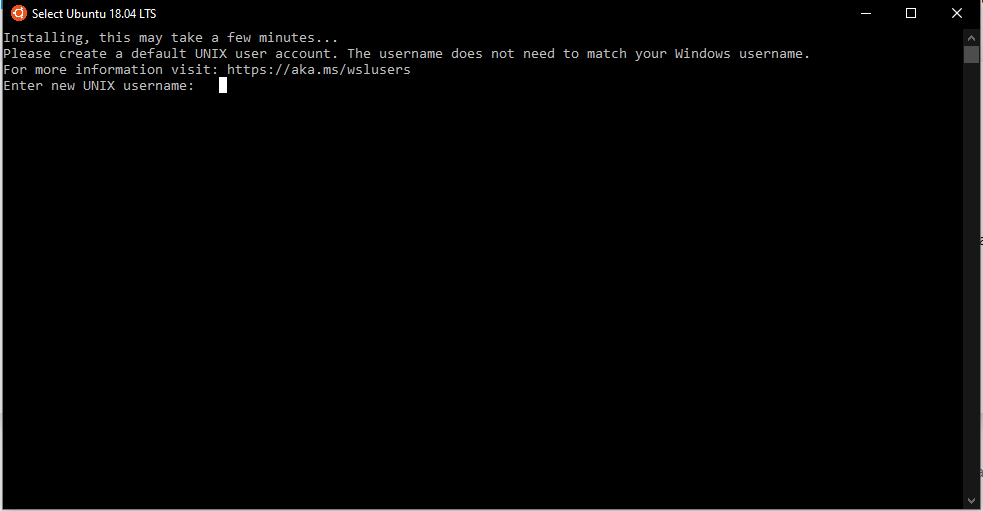
Installing a Linux distribution
Get the linux distribution you want from the microsoft store. I’ve chosen Ubuntu 18.04 LTS.
Installing Microsoft Terminal
Get Microsoft Terminal from the Microsoft Store.
Installing Docker Desktop
Install Docker Desktop for Windows from here
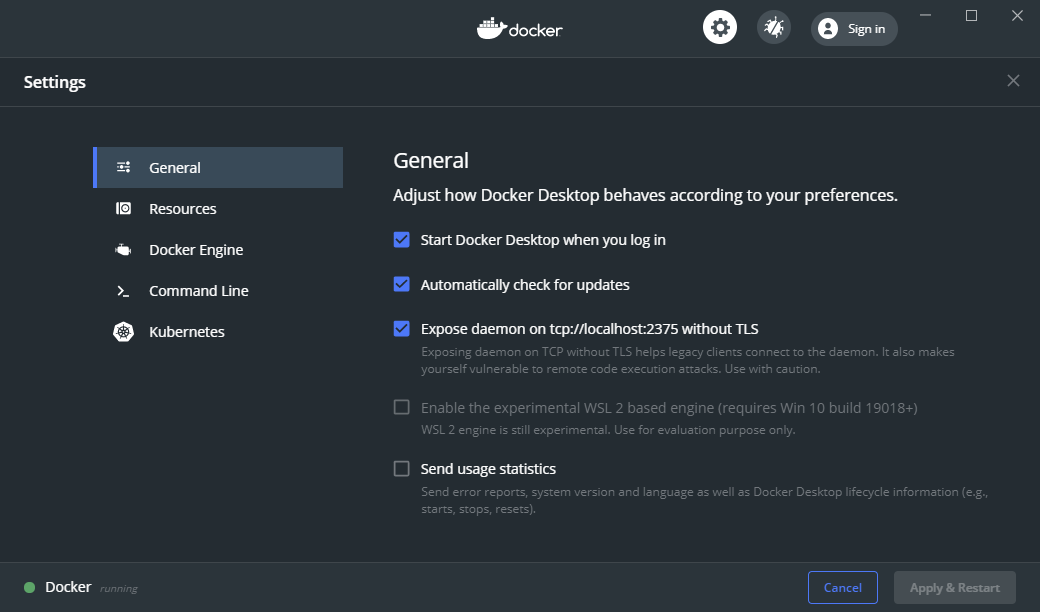
Configuring Docker Desktop
Ensure daemon on tcp://localhost:2375 without TLS is checked. Although it is not recommended to be set it is safe here as the daemon is bound to localhost.
Install Docker onto Linux
Run the following commands, one by one in the terminal:
# Update the apt package list.
sudo apt-get update -y

# Install Docker's package dependencies.
sudo apt-get install -y \
    apt-transport-https \
    ca-certificates \
    curl \
    software-properties-common

# Download and add Docker's official public PGP key.
curl -fsSL https://download.docker.com/linux/ubuntu/gpg | sudo apt-key add -

# Verify the fingerprint.
sudo apt-key fingerprint 0EBFCD88

# Add the `stable` channel's Docker upstream repository.
#
# If you want to live on the edge, you can change "stable" below to "test" or
# "nightly". I highly recommend sticking with stable!
sudo add-apt-repository \
   "deb [arch=amd64] https://download.docker.com/linux/ubuntu \
   $(lsb_release -cs) \
   stable"

# Update the apt package list (for the new apt repo).
sudo apt-get update -y

# Install the latest version of Docker CE.
sudo apt-get install -y docker-ce

# Allow your user to access the Docker CLI without needing root access.
sudo usermod -aG docker $USER
Install Docker Compose
Run the following commands, one by one in the terminal:
# Install Python and PIP.
sudo apt-get install -y python python-pip

# Install Docker Compose into your user's home directory.
pip install --user docker-compose
Add local bin to WSL path
Add the following into the ~/.profile and source the .profile file.
export PATH="$PATH:$HOME/.local/bin"
Ensuring Volume Mounts work
# Create a new wsl.conf file

sudo vi /etc/wsl.conf

# Add the following in the file.

[automount]
enabled=true
root = /
options="metadata,uid=1000,gid=1000,umask=22,fmask=111"
Restart! your machine.
You should be ready to go now.
Tips
Git
To ensure code differences across platforms with regards to line endings are ignored set the following in your global gitconfig for both windows and linux environments.
git config --global core.autocrlf true
Keeagent/Keepass
To ensure keepass serves ssh keys follow the setup instructions here - How to use KeeAgent with WSL and Ubuntu